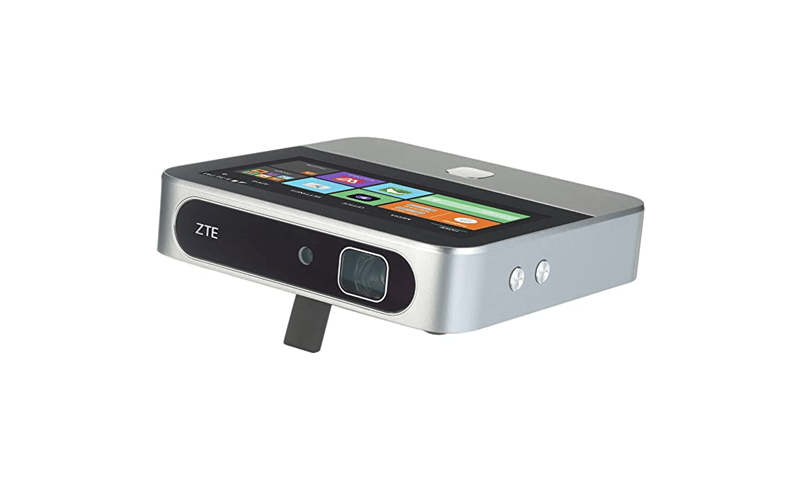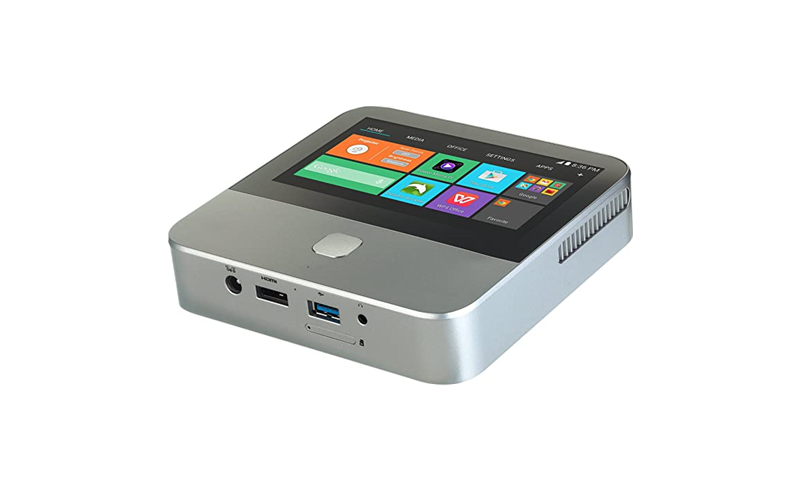

If you need to do advanced WiFi setting on ZTE Spro 2 Projector, follow this tip to know more.
• Network notification: Get notifications in the status bar when Wi-Fi is on and an open network is available.
• Keep Wi-Fi on during sleep: Set whether to keep Wi-Fi on in sleep mode. • Scanning always available: Allow Google’s location service and other apps to scan for networks, even when Wi-Fi is turned off.
• Avoid AP without Internet: Only use Wi-Fi networks that have Internet connection.


• Connect to AT&T Wi-Fi spot: Automatically connect to AT&T Wi-Fi hotspots when they are available.
• Wi-Fi band: Select the Wi-Fi frequency band according to the available Wi-Fi networks.
• Install certificates: Install certificates from the internal storage or the external microSD card. Some Wi-Fi networks need to find the correct certificates to grant you access.
• Wi-Fi optimization: Minimize battery usage when Wi-Fi is on.
• MAC address: Check the MAC address.
• IP address: Check the IP address.
Read more:
Read more:
How to Switch ZTE Spro 2 Projector to Sleep Mode?
How to Complete Setup of ZTE Spro 2 Projector
How to Fix Disney Plus Not Working on ZTE Projector?