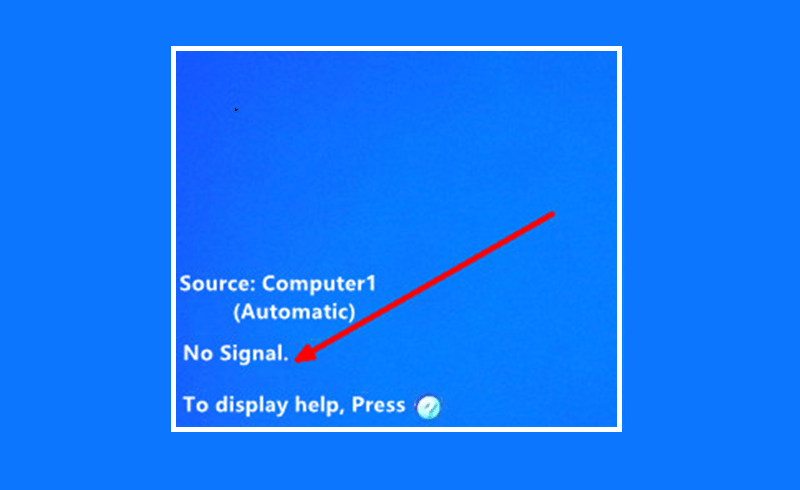

What to Do If No Signal when Connecting Projector with VGA Cable?
If your projector image indicates “No signal” with a blue screen when connected with a PC, you can try the following solution. This article will take Epson Projector as an example.


Step 1
Make sure that the VGA cable is connected to the projector interface with “Computer” or “PC”. Do not connect to the interface with “Monitor Out”.


In addition, the projector and computer should be connected directly. Do not connect with the other equipment such as frequency divider, extension line, transfer line in the middle.
Step 2
Check whether the source displayed on the projection screen is Computer. If not, press “Source Search” and arrow keys on the projector panel or remote control to select “Computer” as the signal Source.
Note: some projectors have two VGA interfaces. If the projector is connected to Computer1 interface, the signal source is Computer1; if connected to Computer2 interface, the signal source is Computer2
Step 3
If your computer supports dual-channel output (computer screen and projector can display pictures at the same time), please switch the display state to the mode that both computer screen and projector screen display by means of a combination key.
The screen switch combination key is “Fn + screen switch key (usually one of the keys in F1-F12, the position of this key is different for different brands and models of computers)”.
The combination key is “Windows + P”, and select Copy in the pop-up window.
Press “Command +F1” to switch to the desktop mode.
Step 4
Restart the computer and check whether the projector can project the Windows boot screen.
1) If the boot screen can be projected but no signal is displayed after entering the Windows system, it may be related to the driver of your computer graphics card. It is recommended that you find and update the driver of the graphics card on the website of the computer manufacturer.
2) If the boot screen cannot be projected, please reconnect the VGA interface. If it still can’t work, please replace a VGA cable or connect to another computer to test.