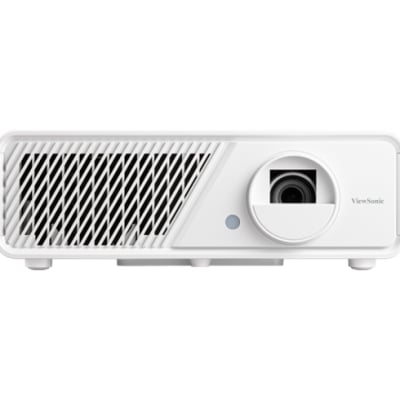
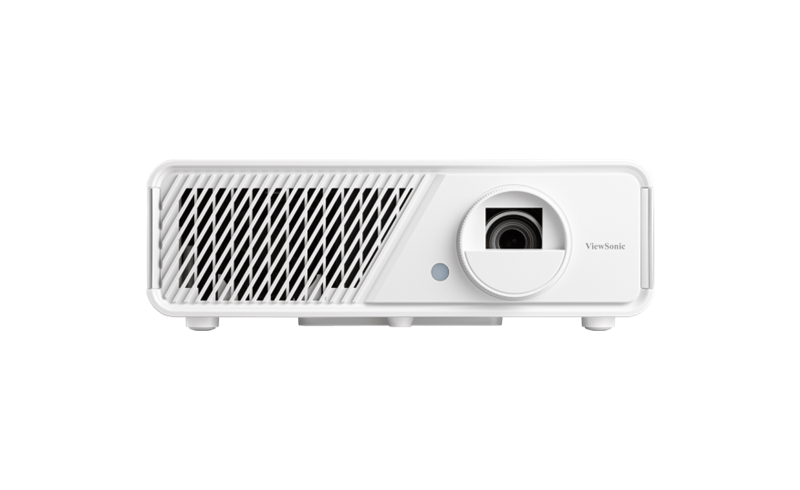
If you want to correct the deformation of ViewSonic X2 Projector image, here are solutions.
You can manually adjusts the shape and size of an image that is unevenly rectangular on all sides by adjusting four corners of image.
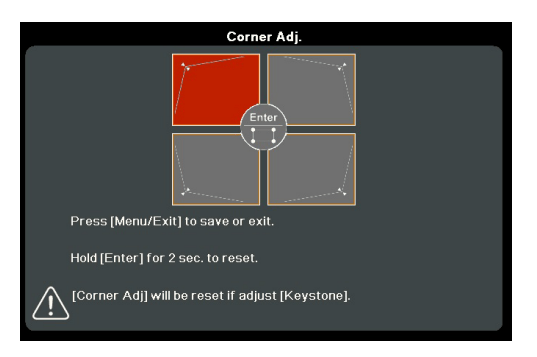
- To display the Corner Adj. page, you can do one of the followings:
• Press ENTER/OK.
• Open the OSD menu and go to the DISPLAY > Corner Adj. menu and press Enter. The Corner Adj. page is displayed. - Use Left/ Right/ Up/ Down button to select the corner you wish to adjust and press ENTER/OK.
- Use Left/ Right to select an adjustment method that suits your need and press ENTER/OK.
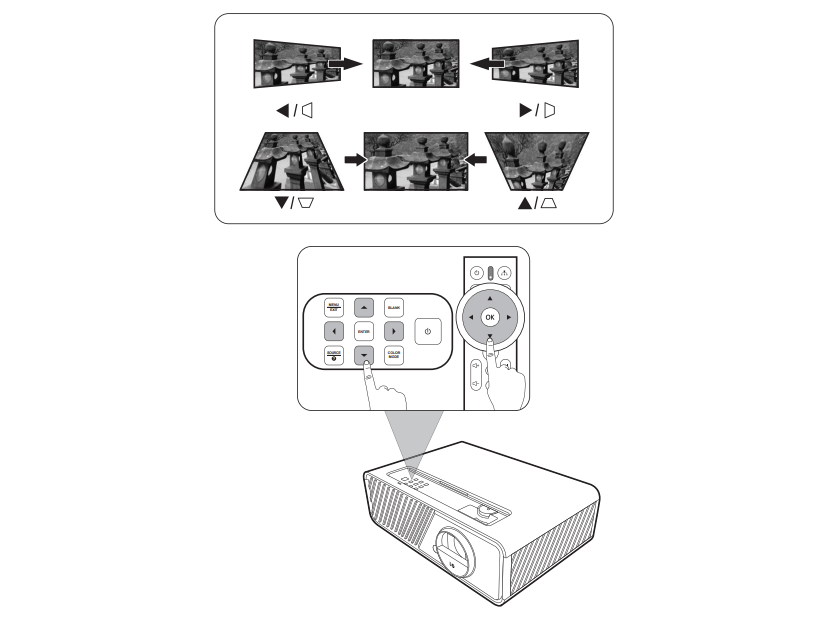
Keystoning refers to the situation where the projected image becomes a trapezoid due to angled projection. Therefore you can resort to keystone correction to solve the distorted image as well.
- Use the Left/ Right/ Up/ Down keys on the projector or remote control to display the keystone page (when the input source is not SMART SYSTEM).
- After the keystone page is displayed, press Down to correct keystoning at the top of the image. Press Up to correct keystoning at the bottom of the image.
- Press keystone icono to correct keystoning at the bottom of the image.
- Press Right to correct keystoning at the right side of the image. Press Left to correct keystoning at the left side of the image.
Read more:
ViewSonic X2 Bluetooth Connection Using Tip
ViewSonic X2 iOS/Android Phone Screen Casting Tip