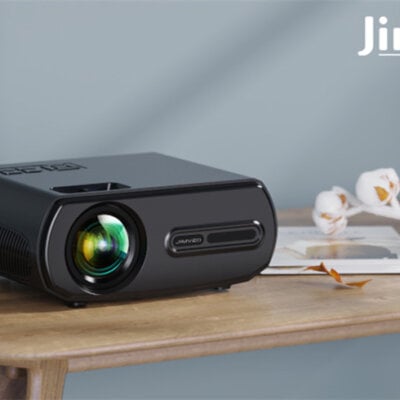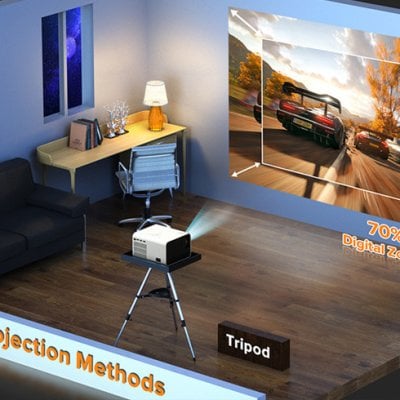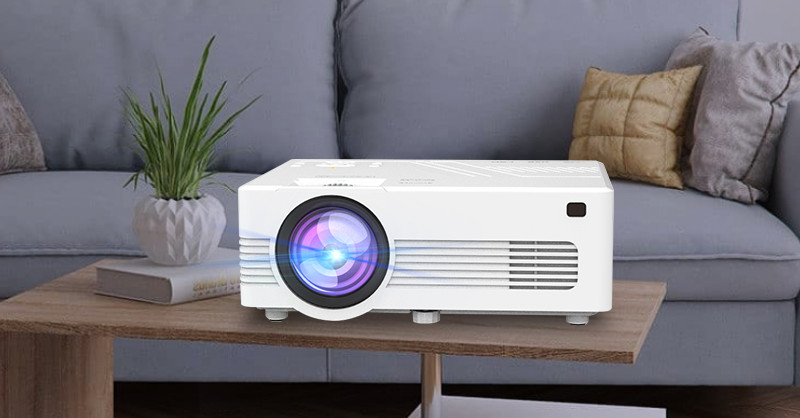
For many projector novices, projector setup is an obstacle before viewing giant screen from projectors. In this guide, we will share a guide on Vecupou projector setup.Vecupou projectors support ceiling, tripod, and front table projection mode. You can choose according to your actual needs. This guide will exemplify with common front table projection mode.
Vecupou Projector Setup Guide
1. Unbox the Vecupou Projector
Unbox the projector and place the projector on the table. The projector’s lamp should be oriented to screen or white wall.
Connect the Vecupou projector to power supply using the power cord and turn on the projector.
2. Image Adjustment
Adjust the position and orientation of the projector to make the projection image rectangular. You can also use the keystone knob to make projection image rectangular. If the projection image is too low, you can place the projector on a tripod.
Roll the focus slider to make the image clear.
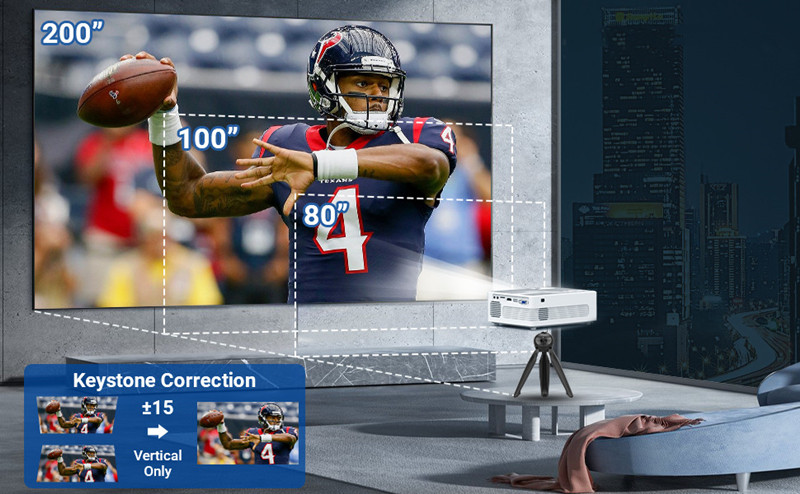
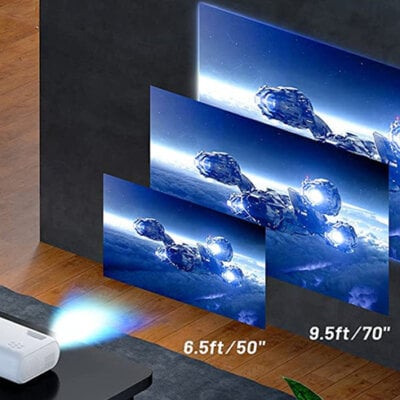
Vecupou projector has an image size range of 45 “to 200”, and the projection distance is about 1.5-5.5 meters. The longer the distance, the bigger the projection image. However, the recommended throw distance is 3 meters to make sure a clear and bright image
As the projector is not bright enough, you need to lower the ambient light, for example, turn off lights or turn off the curtain, to get a better viewing effect.
3. Connect to External Device

As the Vecupou projector has no built-in smart system, you need to connect the projector to external devices to access content. For example, connect the projector to a TV stick.
You may be interested in How to Connect Vecupou Projector to iPhone.
Select HDMI or USB as the projector’s input source based on your actual needs.
Then, the setup of the Vecupou projector is done.
Related Posts

