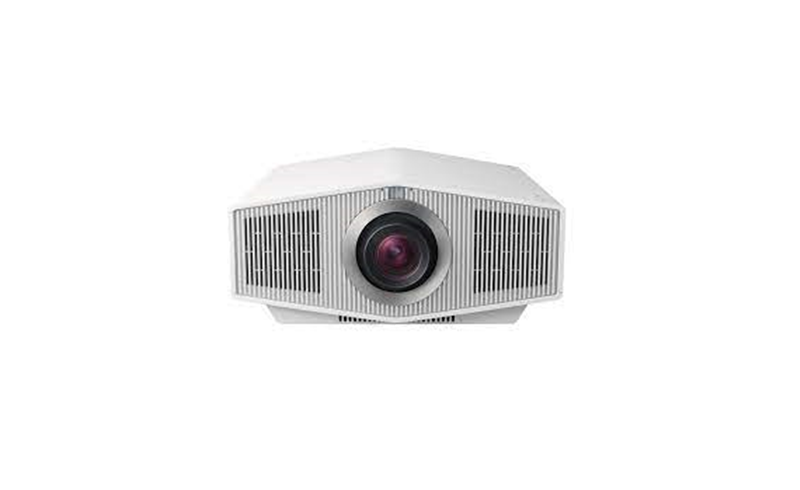
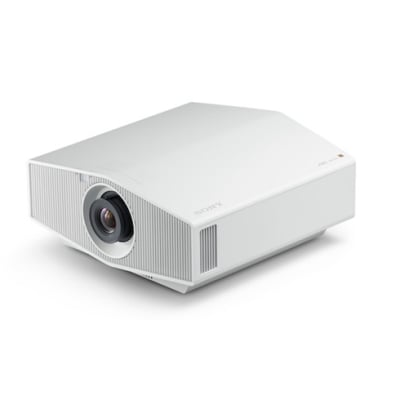
This is a guide for you to configure 3D display settings on Sony VPL-XW6000 Projector’

Steps to set up 3D Display on Sony VPL-XW6000 Projector
- Press the MENU button.
- Select
 [Function] – [3D Settings] – [2D-3D Display Sel.] – the desired setting.
3D Display Settings Description
[Auto]
3D images are displayed when HDMI signals with 3D information are input. 2D images are displayed when other signals are input.
[3D]
3D images are displayed according to the 3D format selected in [3D Format]. However, when HDMI signals with 3D information are input to the unit, 3D images are displayed according to the 3D format of those HDMI signals.
[3D Format]
When the input HDMI signals do not include 3D information, it sets the format to use for displaying the image in 3D.
- [Side-by-Side]: Two similar 3D images are displayed side by side.
- [Over-Under]: Two similar 3D images are displayed one above the other.
Hint
- 3D information is additional information to differentiate 3D. Some HDMI signals have additional information to differentiate 3D and some HDMI signals have none.
- You cannot set [2D-3D Display Sel.] to [3D] for some image sources. For available 3D signals, see “Compatible 3D Signals.”
- The simulated 3D feature may have limited effect depending on the screen size (100 to 120-inch screen is recommended) and the image source.
- The menu display may have a ghost image while a 3D image is displayed. In that case, operate the menu with the 3D glasses.
- You can also set [2D-3D Display Sel.] with the 3D button on the remote control.
Read more:
Sony VPL-XW6000 Projector Brightness Adjustment Guide


