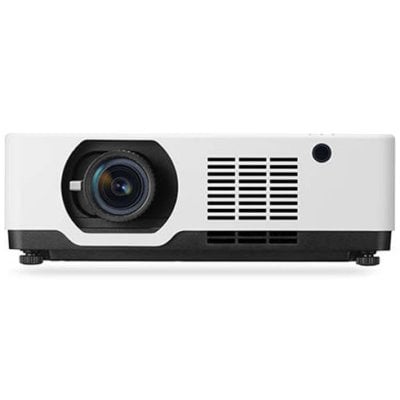
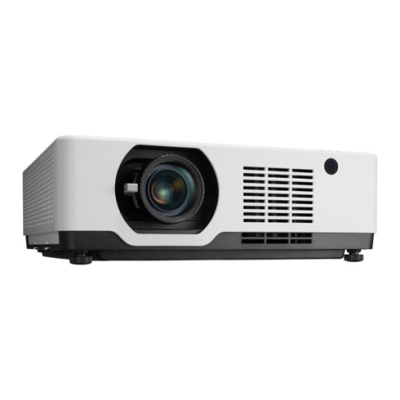
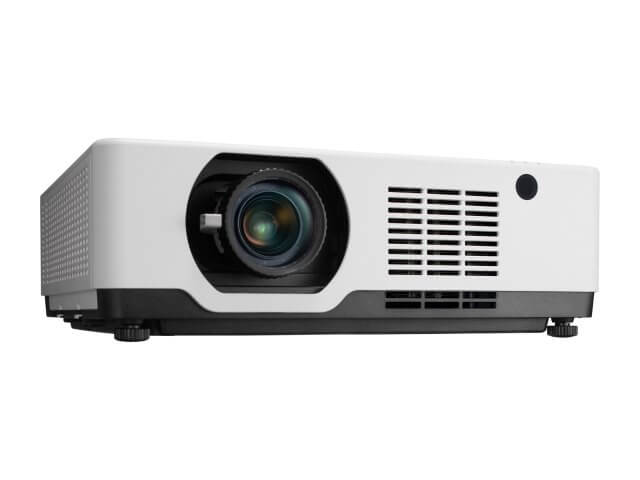
This writting will introduces you how to get Sharp/NEC PE506UL Projector remote prepared quilckly.
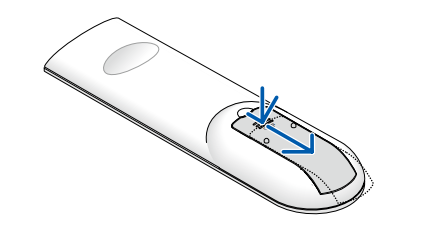
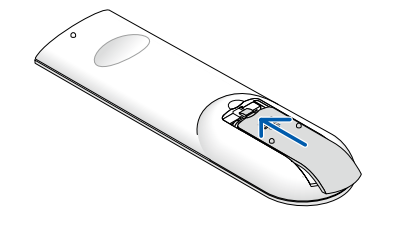
Battery Installation Steps
1. Press firmly and slide the battery cover off.
2. Install new batteries (AAA). Ensure that you have the batteries’ polarity (+/−) aligned correctly.

3. Slip the cover back over the batteries until it snaps into place. Do not mix different types of batteries or new and old batteries.
Sharp/NEC PE506UL Remote Control Using Tips
• If you will not be using the remote control for a long time, remove the batteries.
• Ensure that you have the batteries’ polarity (+/−) aligned correctly.
• Do not use new and old batteries together, or use different types of batteries together.
Read more:
How to Connect Sharp PE456USL to Network?
Sharp PE456USL PC Connecting Guide
Sharp/NEC PE506UL Review – How is This Laser Projector?
Sharp PE456USL Speaker Connection Tip