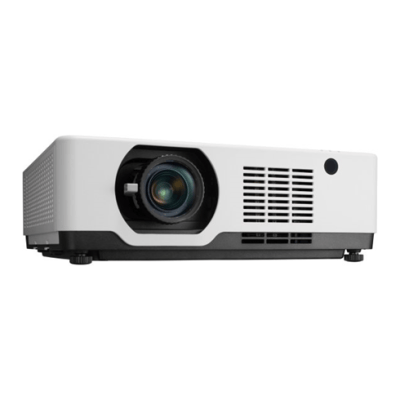
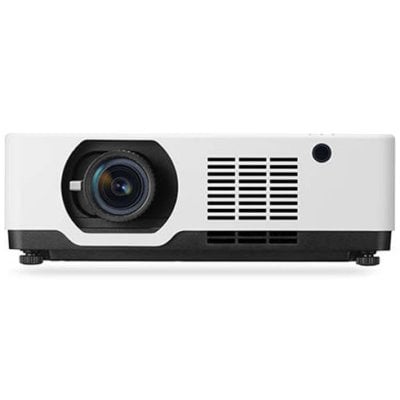
When the USB memory insert into the Sharp/NEC PE506UL projector, the USB-A function can project pictures which is stored in the USB memory.
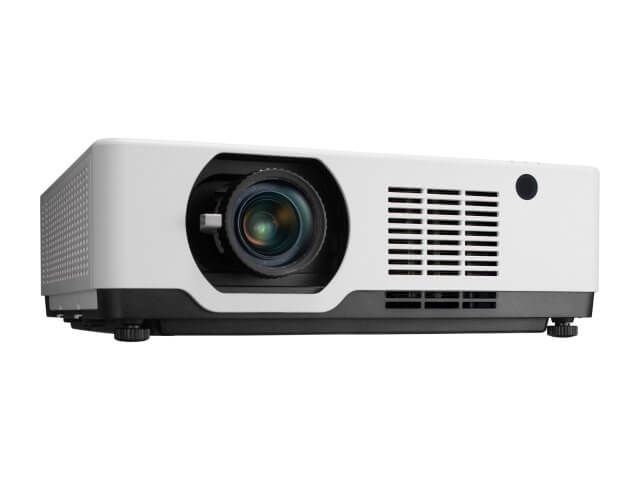
Display USB-A screen
When the USB memory insert into the projector, the USB-A function can project pictures which is stored in the USB memory.
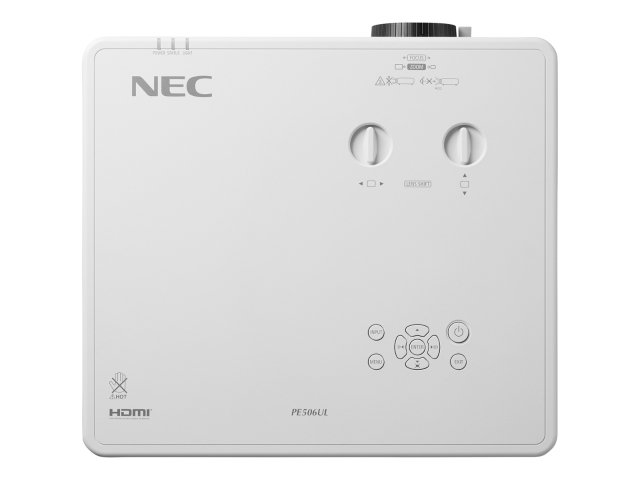
1) Press SOURCE button on the remote control or INPUT on the top control, then select the input source of [USB-A].
2) Insert the USB memory into the USB Port (Type A) directly.
• Press the ENTER button to display standby screen instantly, while the USB memory icon display in the lower left corner of the screen.
• When the USB memory is independent of the partition, it will display more than one USB icon.
3) Press Left/ Right/ Up/ Down button to switch required items.
• The root directory of the USB memory is displayed in a thumbnail.
Play image
Only one image show on the screen when you play it.
1) Press Left/ Right/ Up/ Down button to select a image.
2) Press the ENTER or button.
• Full screen display
3) Press the ENTER button.
• Press the ENTER button to return the thumbnail.
Play slide
Turn on set slide in the USB-A menu to play the file, other files in the same folder can play automatically.
1) Press Left/ Right button to select a file.
2) Press the ENTER or button.
• Full screen display.
3) Press the ENTER button.
• Press the ENTER button to return the thumbnail.
The termination of USB-A
The slide transition effect in the USB-A menu is set to “Slide right” or “Slide down”, all images in the same foldercan play automatically.
1) Press Left/ Right/ Up/ Down button to select card icon , displayed in the upper left corner of the screen.
2) Press the ENTER button.
3) Unplug the USB memory directly.
Read more:
Sharp/NEC PE506UL USB Drive Connection Tip
Tip for Zooming Image on Sharp/NEC PE506UL
Sharp/NEC PE506UL Optimize Computer Signal Tip

