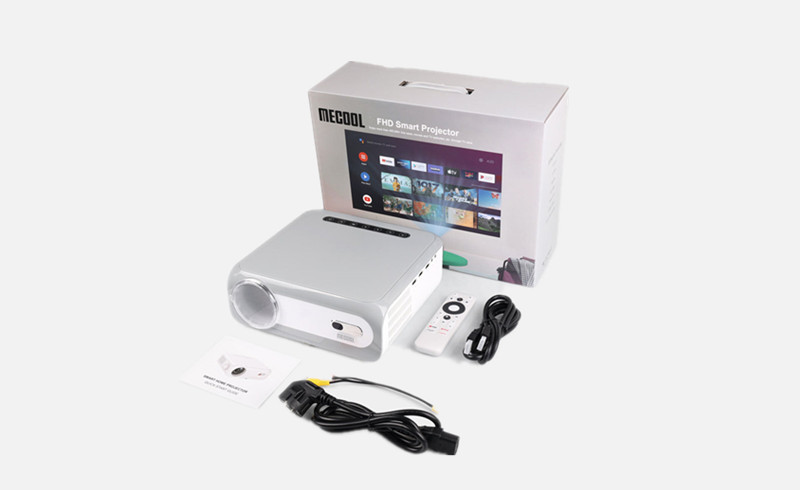
When you boot up the projector for the first time, you need to pack the projector with batteries and plug the TV stick into the projector.
Pairing the remote and the projector
When the remote control and TV stick are done, you need to pair the remote control and the projector.
Power on the projector and walk close to the projector grasping the projector. The distance between the projector and the remote controller should be within 50 cm.
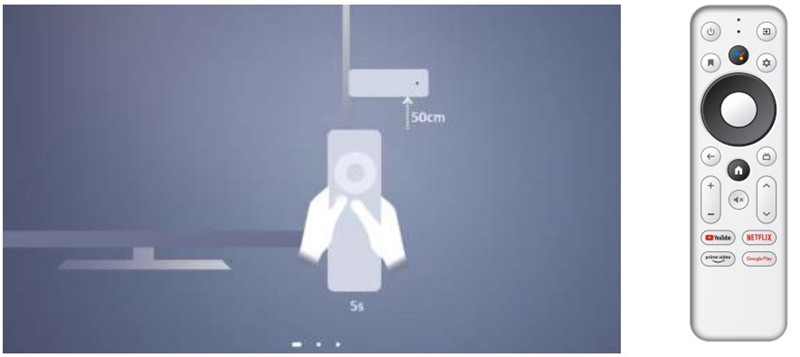
If you can’t pair the remote and the projector successfully, you can press the “Back” and “Home” buttons simultaneously to pair the two devices manually. When the Blue LED shines, the paring process will be successful.
TV Stick Setting
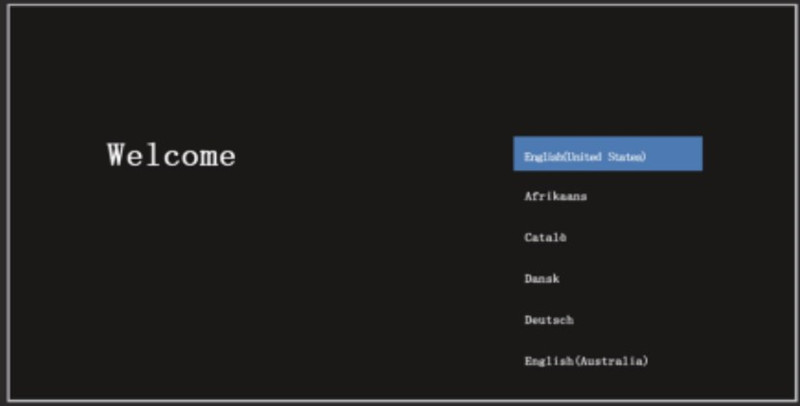
After pairing the remote control, the projector will show the language options. Choose English or another preferred language as the working language, then you can start the following setup.
If the image is blurry, you need to adjust the focus knob until it gets clear. If the image is not rectangular, then you can use the keystone function to make it rectangular.
Set up your TV with an Android phone or tablet, or you can set it up step by step using remote control based on the on-screen-display reminder.
Voice Assistant Setting
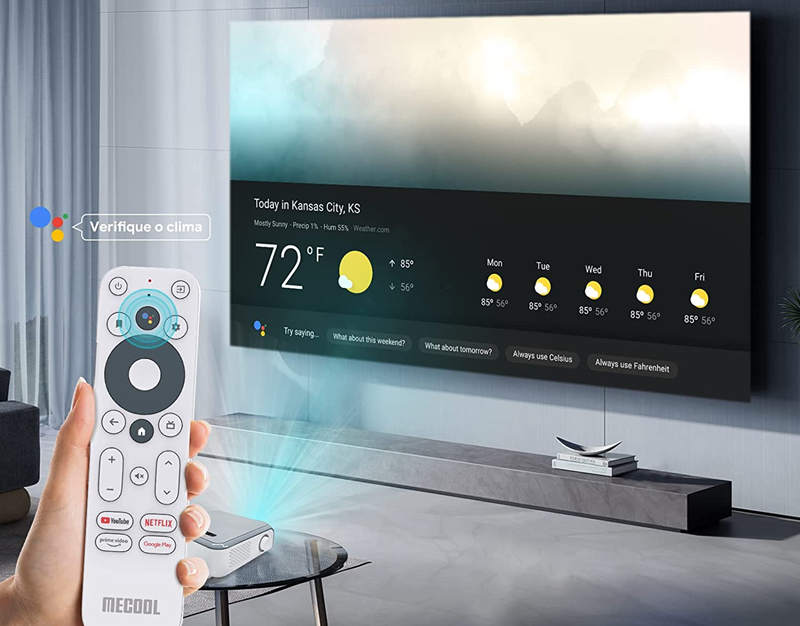
You can press the Google Assistant button on your remote to talk to Google.
Input Source
If you want to switch the input source, then you can press the Setting to switch the input source and then press the “TV” button to recover TV stick mode. When you are connecting the projector to an external streaming device, you need to switch the input source to the correct signal.
Related Posts

