There are four main installation ways to set up your projector. This article is exemplified by the Epson projector setup and installation.
If you want to use the projector in a fixed location, you can install it in a ceiling mount as shown in the picture.
Front Ceiling

Rear Ceiling

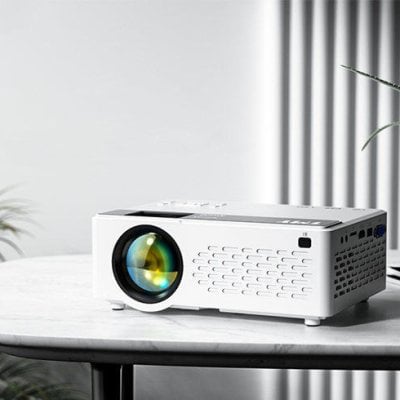
If you will move your projector frequently, you can put it on the table or cabinet as shown in the picture.
Front

Rear

Installation Tips:
- Place the projector on a sturdy, level surface or install it using a compatible mount.
- Place the projector parallel to the screen.
- Leave plenty of space around and under the projector for ventilation, and do not place it on top of or next to anything that could block the vents.
- Position the projector within reach of a grounded electrical outlet or extension cord.
- Position it squarely in front of the center of the screen, not at an angle.