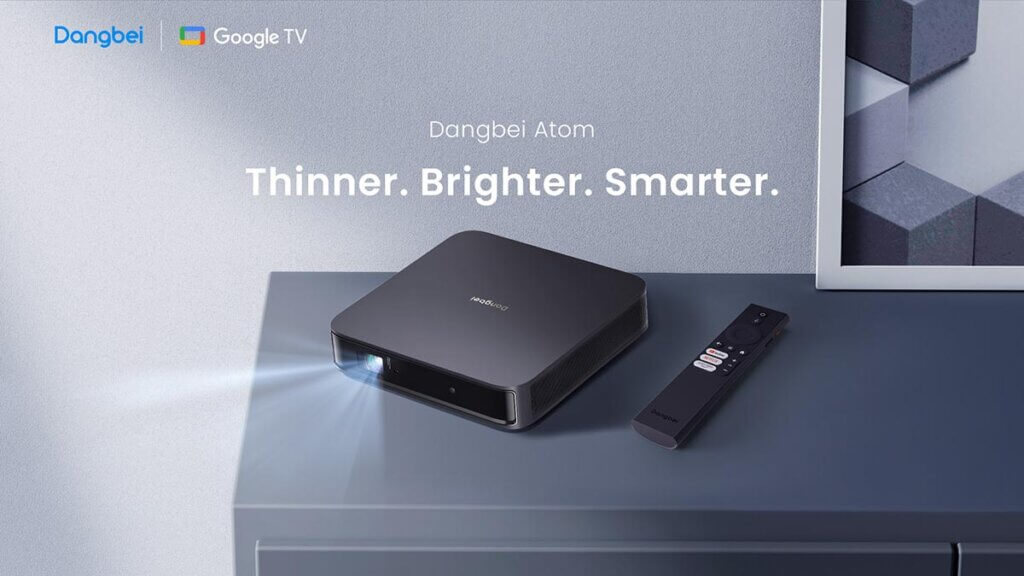
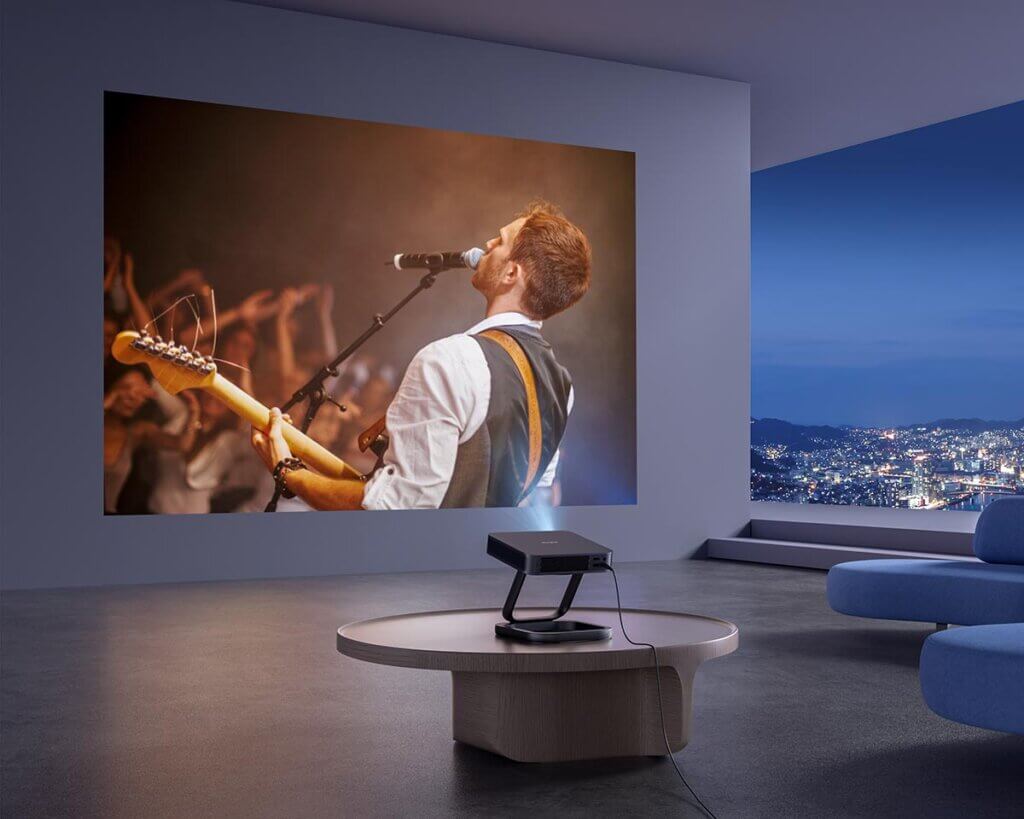
Dangbei Atom projector offers an immersive 3D viewing experience, and setting up the 3D mode is a straightforward process. In this guide, we will walk you through the steps to ensure you make the most of the projector’s capabilities.

Step 1: Positioning the Projector
Before diving into the settings, ensure that the projector is correctly placed at the right distance and height. Proper placement is crucial for optimal 3D projection and an enhanced viewing experience.
Step 2: Adjusting Keystone Correction Settings
Navigate to [Settings] > [Projector] > [Image Correction] > [Advanced], and disable the [Auto Keystone Correction After Movement] feature. This adjustment ensures that the projector doesn’t automatically correct the keystone after movement, allowing you to have precise control over the image.
Step 3: Resetting Image to Default
Before enabling 3D mode, it’s recommended to restore the image to its default state. Go to [Settings] > [Projector] > [Image Correction] and click [Reset to Default Image]. This step ensures that the projector starts from a standard configuration before entering 3D mode.

Step 4: Activating 3D Mode
Play a 3D video and navigate to [Settings] > [Display & Sound] > [Picture] > [3D Mode]. Here, you can choose from Top-and-Bottom, Left-Right, or Blu-ray 3D modes based on your content and preferences.
Note:
- Ensure that the video source is in a compatible 3D format for optimal results.
- Blu-ray 3D mode is available only when connected via HDMI.
- After resetting the default image, the projected picture may initially appear irregular. To refine the viewing experience, consider adjusting the projector’s placement, projection distance, and height for the best results.
Conclusion:
Setting up the 3D mode on the Dangbei Atom Projector is a simple process that enhances your visual experience. By following these steps, you can unlock the immersive world of 3D projection and enjoy your favorite content in a whole new dimension.


