In this post, we will introduce how to connect the NEC projector to a computer. As NEC projectors are varied between models, we will introduce two methods of connecting the NEC projector to a computer.
How to Connect NEC Projector to Computer?
Method 1: VGA or HDMI
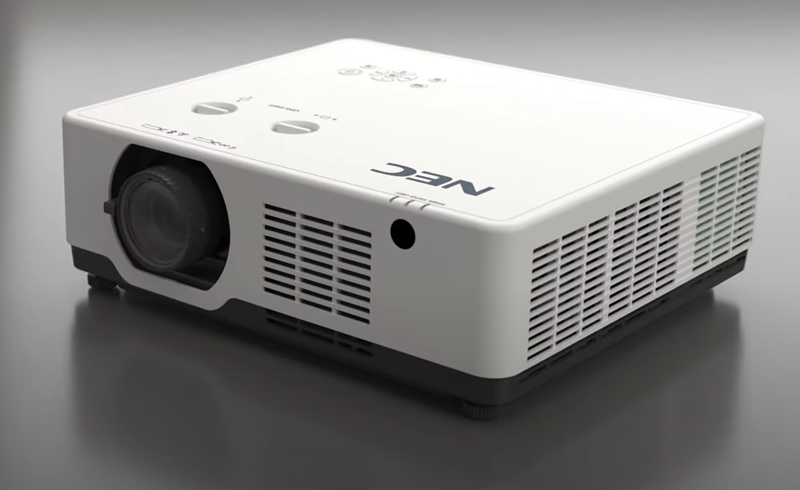
This method is applicable to NEC PE506UL/PE456USL/PE506WL/PE456WSL, and more.
- Firstly, turn on your NEC projector and the computer.
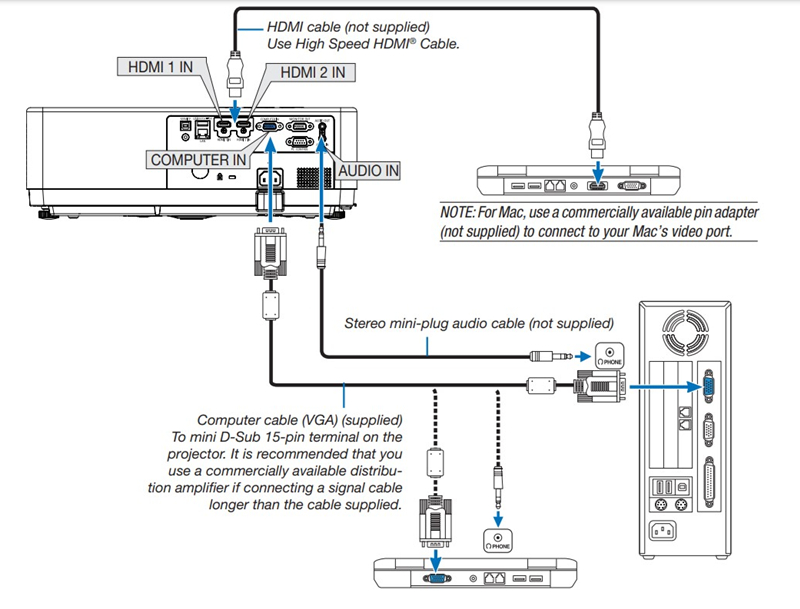
- Use a Computer cable (VGA) to a Computer In (mini D-Sub 15-pin) cable to connect the projector and the computer.
- Plug the two ends of the Stereo mini-plug audio cable into the projector and your computer (If necessary).
- Select the source name for its appropriate input terminal after turning on the NEC projector.

- Then, select the display mode based on your needs.
If you are connecting the projector to Mac, you need to use a commercially available pin adapter to connect to your Mac’s video port.
You may be interested in HDMI vs HDCP.
Method 2 PC control terminal
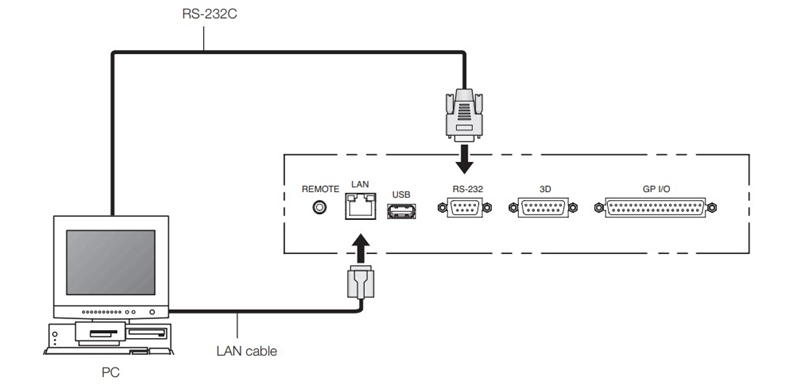
This method is applicable to old-fashioned computers.
- Turn on the NEC projector and your computer.
- Connect the projector and computer with the PC control terminal (RS-232).
- To access the network, you can connect the two devices with a LAN cable.
- Then, you can adjust the display modes according to your preference.
Related Posts