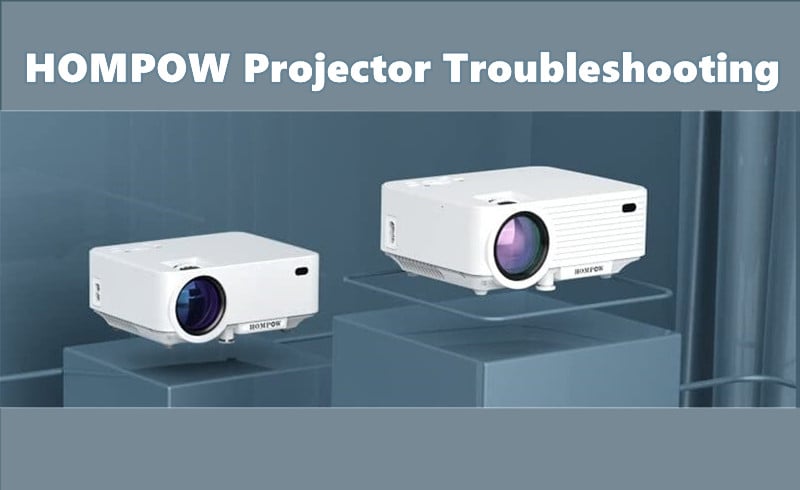


HOMPOW is a popular projector brand in the US market. In this guide, we will share some troubleshooting solutions concerned about the projector and help you to solve daily problems conveniently.
Most HOMPOW projectors are multimedia projectors, and you need to connect the projector to external devices via different interfaces to access the content. Before accessing content from an external device, you need to select the corresponding source as the input source.
Here are some solutions to HOMPOW projector no signal.
Check whether you have selected the right input source. Generally, you can see the input source on the homepage. For example, if you are connecting a computer to the projector via an HDMI interface, then you can’t select USB as the input source.
Check whether the connection cable is working. You can try a new connection cable and try it again.
Reconnect the projector and the external device again as the two devices may be disconnected when there are no instructions for a long time.
In this section, you can get some image adjustment methods and troubleshooting solutions.
Generally, if the projection image is blurry, there are some common causes, including focus, image size, source video problems, and lens problems.
Here are some possible troubleshooting solutions to the blurry image problem.
Adjust the focus by rolling the focus slider on the projector until the projection image gets clear.
Check the image size and make sure the projection image size is within the image size range of the HOMPOW projector.
Check the video format, and make sure the video’s resolution and format are supported on the projector.
Clean the lens and optical parts with a vacuum cleaner regularly to avoid dust accumulation.
Lower the ambient light by closing the curtain or turning off the light.
Generally, the projection image should be square and regular. However, the projection image may be abnormal because of the keystone effect. Check the following solutions below to solve these problems.
Adjust the image using keystone correction by rolling the keystone slider on the projector or using an electric keystone using the remote if it supports an electric keystone.
If your HOMPOW projector is not working, you can try the following solutions.
Check whether the projector’s power cable is well connected.
Check whether the projector is overheated. If the projector is overheated, it will shut off automatically. You can try again when the projector cools down.
Please check whether the lamp is lit. If the projector is turned on but no light from the projector, the projector’s lamp or optical machine may be broken or the lamp has reached its life span. If it does, you need to contact the seller for repair.
Most HOMPOW projectors are equipped with an IR-based remote, and you can follow the steps below to troubleshoot the problems.
Please point the remote toward the IR receiver window on the projector.
Make sure the projection distance is not so far.
Remove the block between the projector and the remote.
Don’t cover the IR receiver with anything to avoid signal blocking.
Avoid strong fluorescent lights or other distracting electric appliances when using the projector.
When you connect the projector to an external device, remember to use the other remote to adjust the volume.
Many users find their HOMPOW projectors produce no sound. Here are some potential causes.
Adjust the volume to a higher level using a remote control. Check whether the projector is muted unexpectedly.
Most HOMPOW projectors don’t support Dolby audio and you need to turn off Dolby audio when watching videos on some streaming apps, for example, Netflix.
Check the audio cable when you connect the projector to external speakers.
Netflix is a mainstream streaming service in the US. If there is no sound when playing Netflix, then you can try the following troubleshooting solutions.
Turn off the Dolby Digital Plus on the Netflix app as most HOMPOW projectors don’t support Dolby audio.
Stop mirroring Netflix from your smartphone to the projector as Netflix doesn’t support Airplay anymore.
It is common to connect a projector to a laptop. Here are the detailed steps.
1. Turn on your HOMPOW projector and find an HDMI cable.
2. Connect one end of the HDMI cable to the projector’s HDMI interface and plug the other end of the cable into your laptop.
3. Press the Source button on the remote and select HDMI as the input source.
4. Press the Windows and P combination keys to access the display mode.
5. Choose one mode from the four display modes, including PC screen only, Duplicate, Extend, and the second screen only. You can choose one of the four modes based on your need.
6. Then, your laptop and your projector can be connected.
Generally, there are two connection ways for HOMPOW projectors, including wired connection and wireless mirroring.
After unboxing the projector, place the projector on a flat level. If you prefer a ceiling projection, you need to prepare a mounting kit.
1. Connect the projector to power using the power cord and plug.
2. Fix a screen in front of the projector. A neat white wall is also okay if you have no screen.
3. Adjust the distance between the projector and the screen to make the image fit the screen. If you want to mount the projector on the ceiling, you need to test the projection distance and image size before fixing the projector on the ceiling.
4. Roll the focus slider to make the image clear and roll the keystone to make the image rectangular. To avoid irregular images, the projector and the screen or white wall should be aligned.
5. Connect the HOMPOW projector to an external device to access more content.
6. Then, the setup is completed.
That’s all for the HOMPOW projector troubleshooting solutions. If you have any problems, you can comment in the Comment section below.
Related Posts