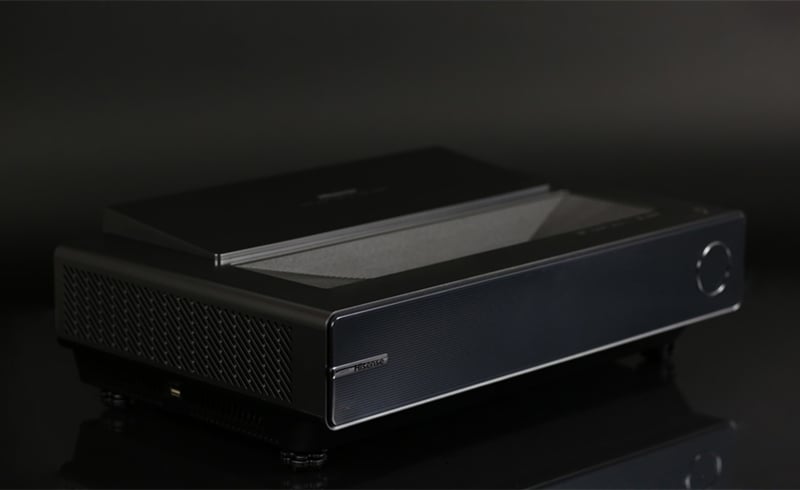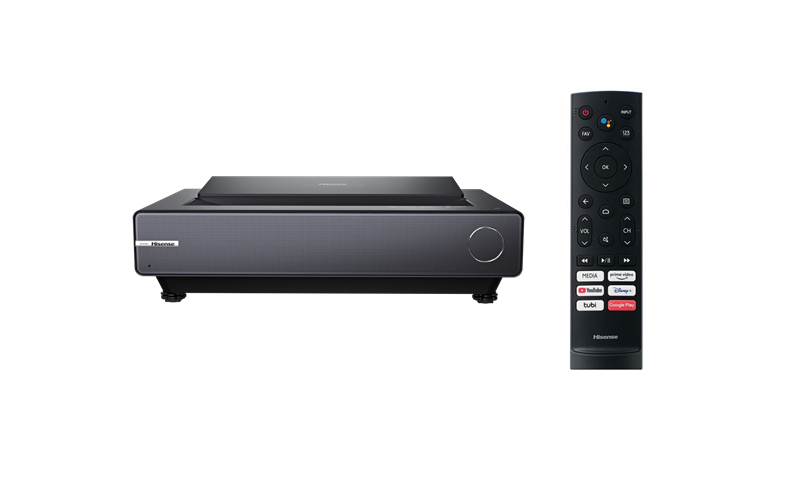

Hisense PX1-PRO Setup Instruction and Guide
The first thing when you unbox the Hisense PX1-PRO projector is to set up the projector. Follow the steps below to set up the projector.


1. Connect all cables to the ports on the back of the Hisense PX1-PRO before you position it. (Audio, video, Ethernet cables, and external devices are not included.)
2. Position the projector so it is parallel with the screen surface. The distance from the back panel of the Hisense PX1-PRO to the wall is 8 1/8 inches.
3. Plug the power cord into a wall outlet.
4. Press the POWER button to turn on the Hisense PX1-PRO projector.


Tips:
Related Posts