You can use the Color Uniformity feature to manually adjust the color tone balance in the projected image.
Adjusting the Color Tone (Color Uniformity)
1. Press the [Menu] button, select the Management menu, and press [Enter].
2. Select Color Uniformity and press [Enter].
3. Select Color Uniformity again and press [Enter].
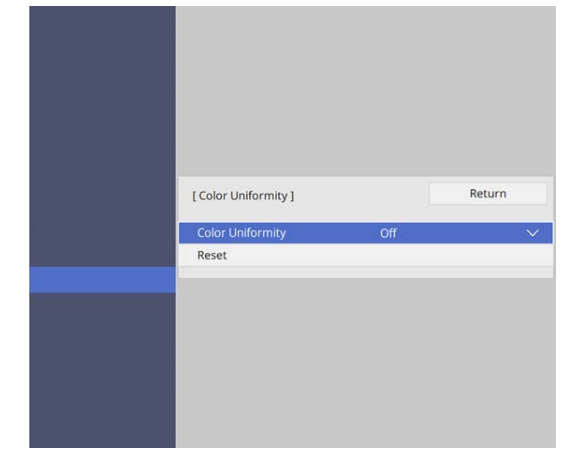
4. Select On and press [Enter]. Then press [Esc].
5. Select Adjustment Level and press [Enter].
6. Select the first adjustment level you want to adjust and press [Esc].
7. Select Start Adjustments and press [Enter].
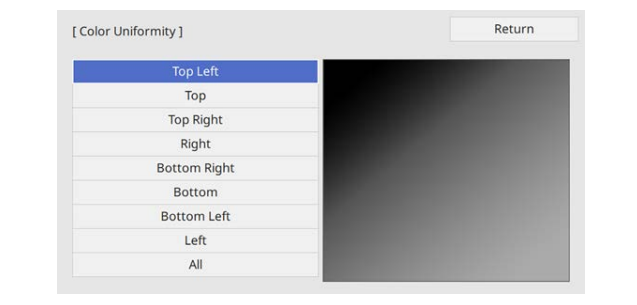
8. Select the area of the image you want to adjust and press [Enter].
9. Select Red, Green, or Blue and adjust the color tone, if necessary.
10. Press [Esc] to return to the area selection screen.
11. Repeat the color adjustments to each area.
12. Return to step 5 and repeat all steps to adjust other levels. When you are finished, press [Menu] to exit.
Read more:
Epson EH-LS12000B Setting Frame Interpolation Guide