
DR. J Projector Troubleshooting
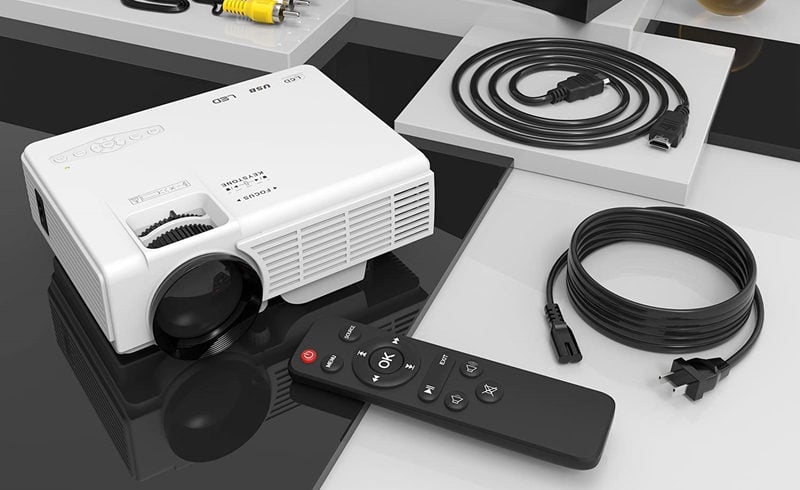
DR. J projector is a hot budget projector on the market. Have you come across any problems with the DR. J projector? Check the DR. J projector troubleshooting solutions below and get answers about FAQs about the projector.
If you find that the HDMI cable is not working, you can try the following solutions to solve the problem.


Check whether you have selected the correct Input Source. If you connect the projector to other devices via an HDMI cable, you need to choose HDMI as the input source.
Check whether you have turned off Dolby Digital Plus.
Check whether the HDMI cable supports HDCP or not. Some copyrighted content requires an HDCP that is compliant with HDCP.
Make sure the HDMI cable is normal. You can try to change a new HDMI cable and try again.
DR. J projector supports connecting to a phone via an HDMI adapter. You can’t connect the projector to your phone via USB cable.
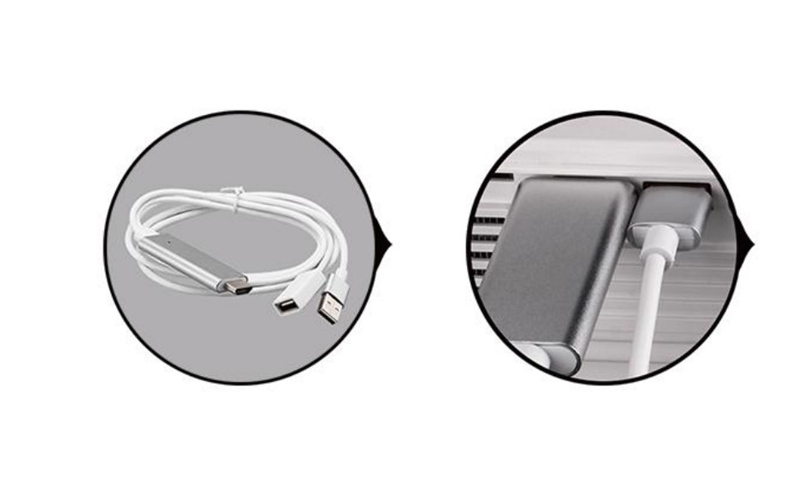
If you are using an Android phone, you need to use a Micro USB/Type C to HDMI adapter to connect the two devices. If you have an iPhone, you need to use a lightning to HDMI cable to connect the projector and your iPhone.
To make sure that you can connect the projector successfully, you have to trust the projector on your phone when you see a prompt message on the projector screen. The prompt message may read Trust This Computer.
If you can see the projection image of the projector but can’t hear any sound, you can check the following tips for troubleshooting.
Check whether the video format is supported or not.
Turn off the Dolby Digital Plus or try to turn off stereo sound when you play content from Netflix and other streaming platforms. You can try to switch the audio to Non 5.1 option in the Netflix Setting.
Unplug and reconnect the audio cable if you connect the projector to other audio devices.
Make sure that the projector is not mute by adjusting the volume with your remote control.
Check whether the projector is connected to an earphone.
Check whether the HDMI cable is normal by replacing a new HDMI cable or testing the HDMI cable on other devices.
If your DR. J projector has a black spot on the projection image, you can try the following solutions.
Clean the lens with a vacuum cleaner gently.
Remove the sundries on vents.
Check whether the projector is overheated, and try to turn the projector off and try it again when it cools down.
The internal chip may be broken. Try to contact the service for further help and repair.
If you find the projector is overheated, the projector may suffer the following conditions.
Check whether the fan is broken.
Check whether the vents are blocked. Do not cover the projector with any cloth.
Check whether the projector has run for a long time. You can turn the projector off every 4 hours to maintain the projector.
Check whether the DR. J projector is close to other devices that produce much heat.
Place the DR. J projector in a cool and ventilated place to ensure good heat dissipation.
Most DR. J projectors have an automatic software update. If you missed the software update or want to update manually, you can contact the customer service via email then they will send you the detailed steps and the latest software.
The setup of the DR. J projector is simple, and you can follow the steps below to set up the projector.
Firstly, place the projector on a flat surface, a table, or a cabinet.
Secondly, adjust the distance between the projector and the screen. If you have no screen, a neat white wall is also feasible.
Thirdly, you can connect the projector to power with the power cord. You can use the projector calculator to calculate the detailed throw distance and accurate screen size.
Adjust the keystone knob and focus knob to make the image clear and rectangular.
Connect the projector to an external device, for example, a USB flash drive, a TV stick, or a smartphone to access more resources.
If you want to set up the projector in ceiling mode, you need to buy an additional mounting kit.
If the image is not big enough, you can move the projector far from the screen/wall to make the image bigger.
If the image is too big, you can move the projector closer to make the projection image smaller.
Firstly, try to adjust the keystone and focus ring to make the projection image clear.
Then, check whether the projection image of the projector has exceeded the max screen size of the projector.
Last, try to build a dark environment to improve the viewing effect when you use the projector, for example, you can turn the lights off at night, or close the curtain when there is strong sunlight.
If all solutions above don’t work, you can try to update the software. You can contact the DR. J Projector Service to access the latest software by providing the LOT number under the projector.
You should select DMP as the input source.
Go to Movie, then find the video on your USB flash drive.
If you want to play the video in Full-screen mode, you need to click the Source button again.
The source button is located at the top panel of the projector.
That’s all for the DR. J Projector troubleshooting and answers to related questions.
Related Posts
DR. J Projector Troubleshooting for 2022
DR.J Projector No Sound Solutions and Troubleshooting
How to Connect DR.J Projector to Phone?
CASIO Projector Troubleshooting for 2022