Projectors are essential devices that deliver captivating visuals, but over time, dust and debris can accumulate, affecting image quality and performance. Regularly cleaning your projector is crucial for maintaining optimal picture clarity and extending its lifespan. In this tutorial, we’ll provide a step-by-step guide on how to clean your projector effectively.
Safety First
Before cleaning, always ensure your projector is powered off, unplugged, and has cooled down to avoid any potential accidents or damage. Wait for at least 30 minutes after turning it off to ensure it’s safe to touch.
Gather the Right Tools
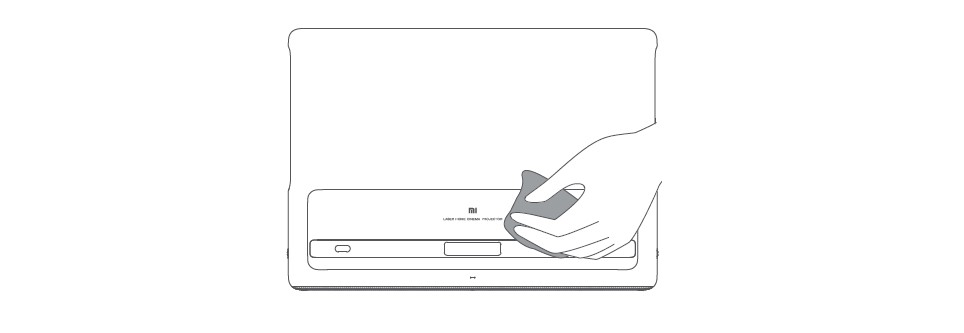
You’ll need a few supplies to clean your projector properly:
- A soft, lint-free microfiber cloth
- Compressed air or a handheld air blower
- Lens cleaning solution or isopropyl alcohol (70% concentration)
- Cotton swabs
- Soft-bristled brush
Cleaning the Exterior
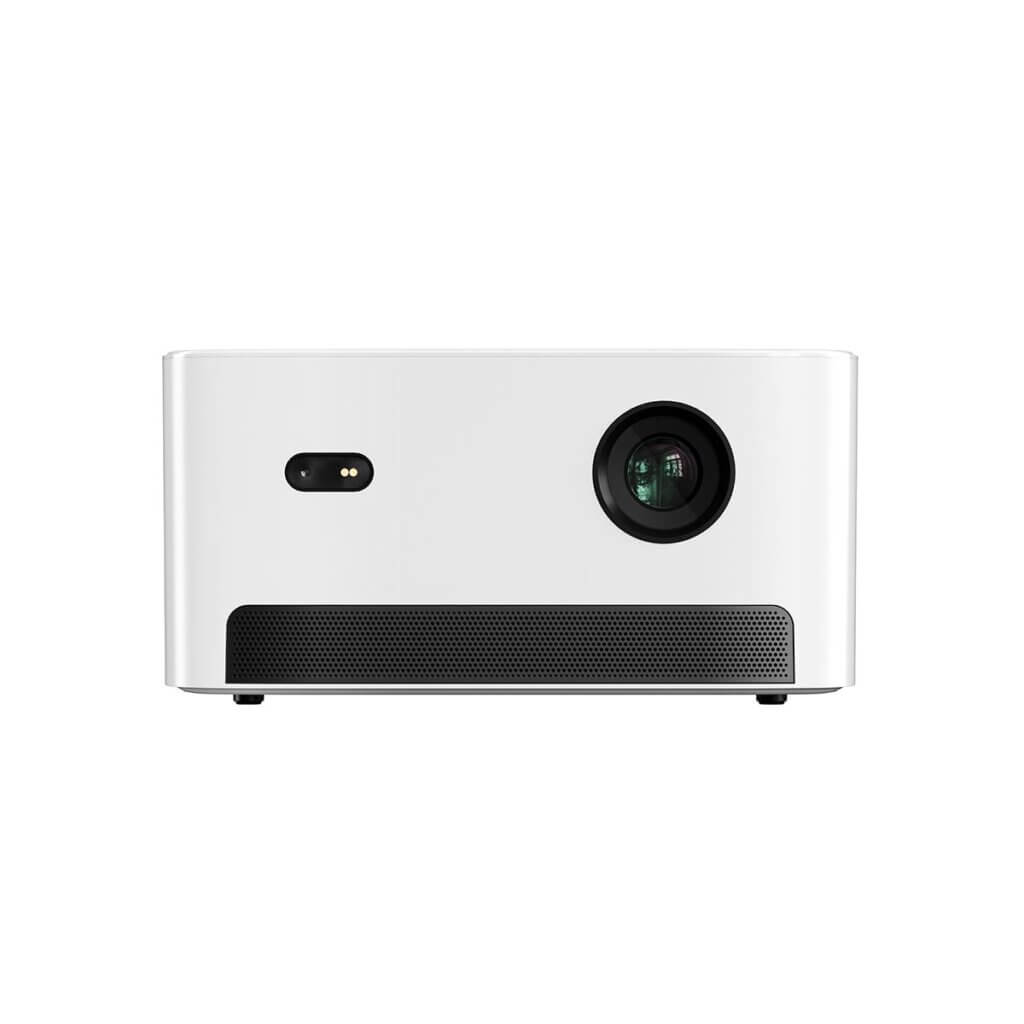
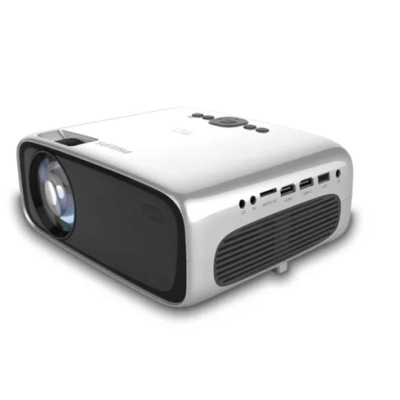
Start by gently wiping the projector’s exterior casing with the dry microfiber cloth. Remove any visible dust or dirt, paying attention to vents and grilles. Avoid using harsh chemicals or abrasive materials that may damage the surface.
Cleaning the Lens
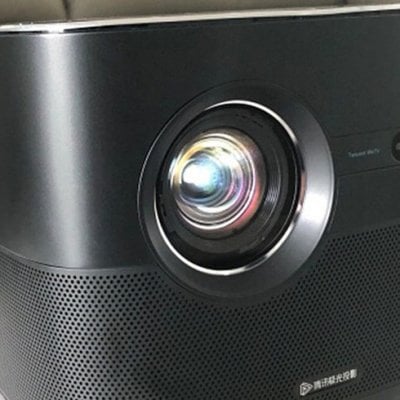
The projector’s lens is a critical component that directly impacts image quality. First, use the compressed air or air blower to blow away any loose dust or debris from the lens surface. Hold the air blower a few inches away from the lens to avoid causing damage.
Next, apply a small amount of lens cleaning solution or isopropyl alcohol to the microfiber cloth. Gently wipe the lens using circular motions, starting from the center and moving outward. Avoid pressing too hard, as excessive force may scratch the lens. Use a dry part of the cloth to remove any remaining moisture.
Dusting the Internal Components
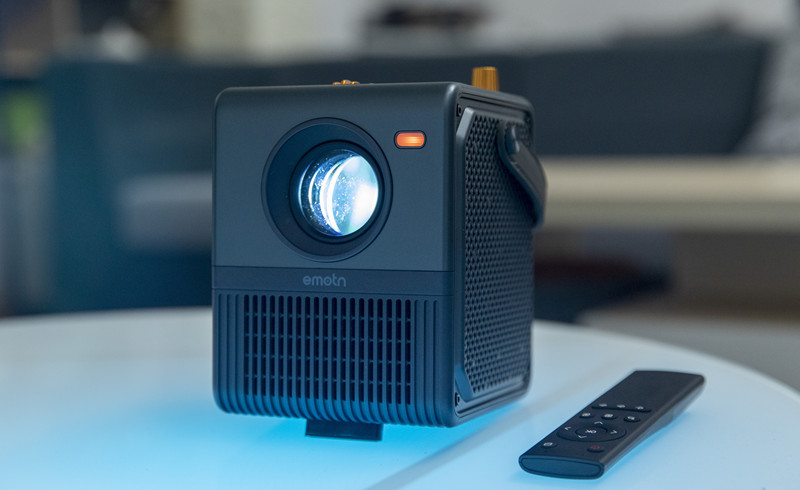
For optimal performance, it’s essential to clean the internal components. Use the compressed air or air blower to blow away dust from the projector’s interior, including the lamp, cooling fans, and filters. Hold the projector at an angle to allow the debris to fall away naturally.
Cleaning the Filters
Filters play a crucial role in preventing dust from entering the projector. Check your projector’s user manual to locate the filters. Remove them carefully and gently clean them using the soft-bristled brush or rinse them under lukewarm water if they are washable. Allow the filters to dry completely before reinstalling them.
Removing Stubborn Stains
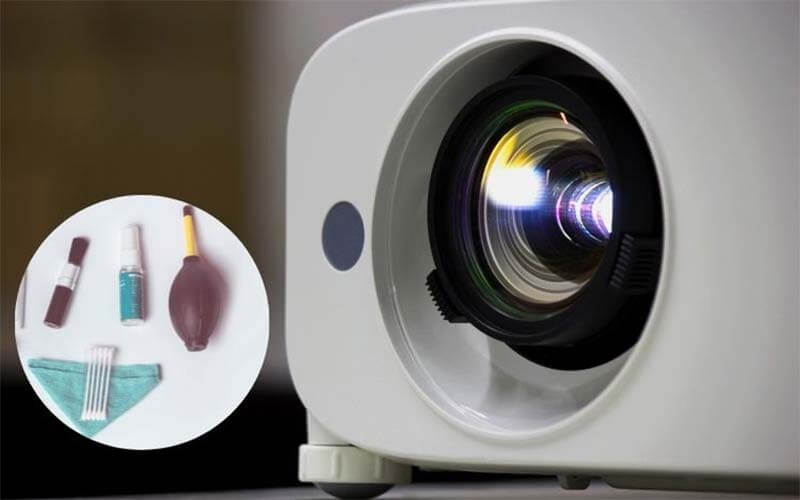
For stubborn stains or smudges on the lens or casing, dampen a cotton swab with lens cleaning solution or isopropyl alcohol and gently clean the affected area. Ensure that the swab is not too wet to avoid moisture getting inside the projector.
Maintaining Regular Cleaning Schedule
To ensure long-lasting performance, establish a regular cleaning routine for your projector. Depending on usage, clean the lens and filters every 1-2 months, and perform a more comprehensive internal cleaning every 3-6 months.
Following these steps will help you keep your projector in top condition, ensuring crisp and vibrant visuals for all your presentations or entertainment needs. A clean projector not only enhances image quality but also prolongs the life of your valuable investment. Happy projecting!

