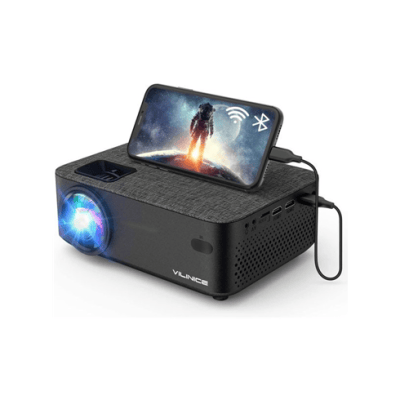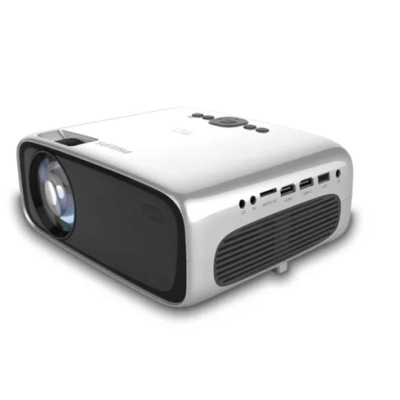
It is common to connect a projector to a computer. This guide will introduce 3 methods to connect a projector to a computer.
Methods to Connect a Projector to Computer
Method 1: HDMI Connection
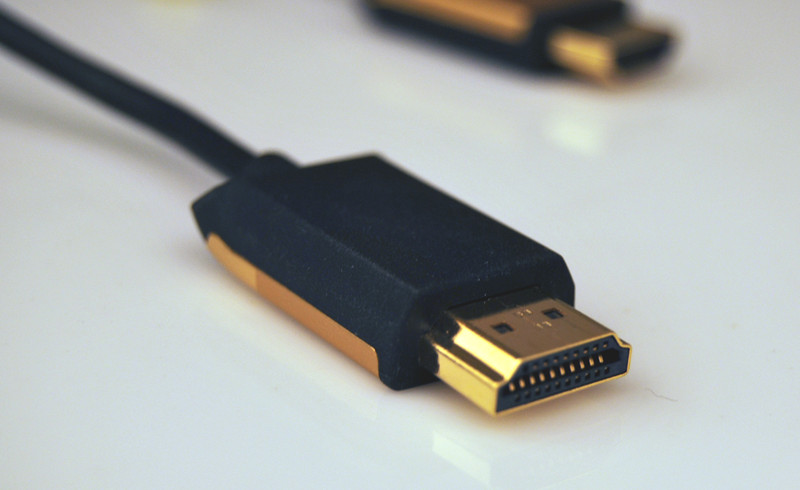
Step 1. Plug one end of the HDMI cable into the HDMI port of your computer.
Step 2. Plug the other end of the HDMI cable into the HDMI port of the projector.
Step 3. The projector will automatically detect the signal from the computer and display the content on the computer screen. You can press the “Windows + P” keys to load more display options.
You may be interested in HDMI vs HDCP.
Method 2: VGA Connection
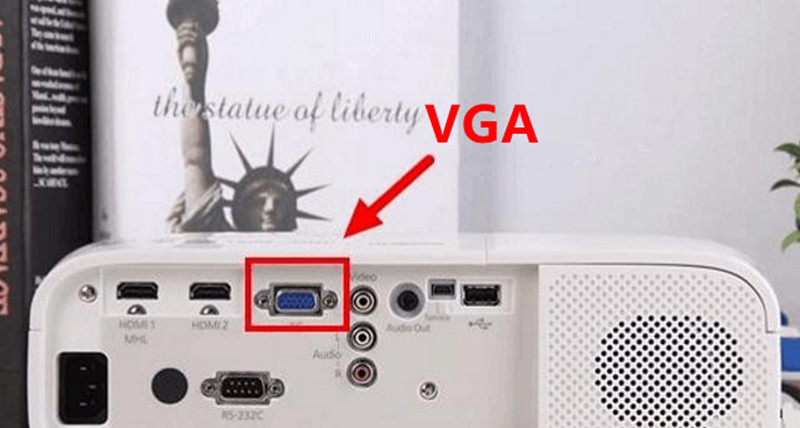
Step 1. Plug the VGA cable into the VGA port of your computer.
Step 2. Plug the other end of the VGA cable into the VGA port of the projector.
Step 3. Connect the audio output interface of the computer to the audio input interface of the projector, then it can transmit the audio signal.
Method 3: Wireless Connection
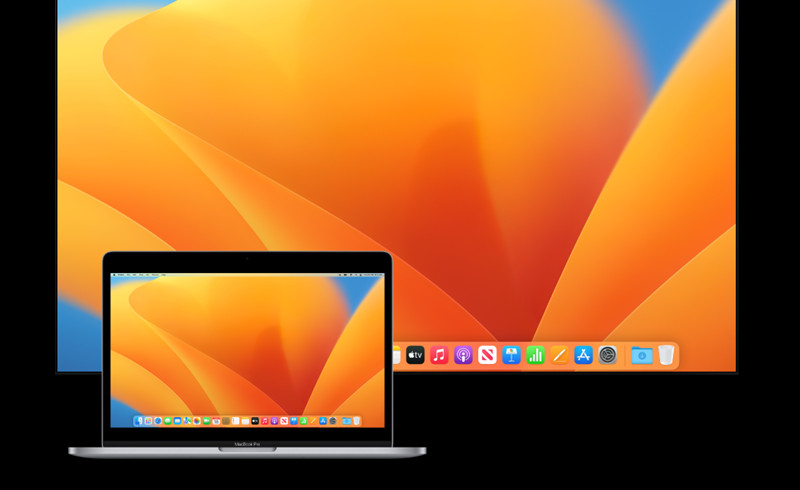
This method is suitable for projectors with wireless mirroring functions.
Step 1: Make sure your computer and the projector are connected to the same Wi-Fi network.
Step 2: Enable Wireless Mirroring on the projector.
Step 3: Enable Wireless Mirroring/Casting on your computer, such as using Windows 10’s “Cast Screen” feature or MacOS’s “AirPlay” feature.
Step 4: Select the computer’s wireless signal on the projector and connect. Please select the right input signal on the projector. Besides, ensure the output mode is supported on the projector.
Related Posts
Why is My Projector Blurry
What Is 3D TOF Technology in Projectors?

